1. SETUP
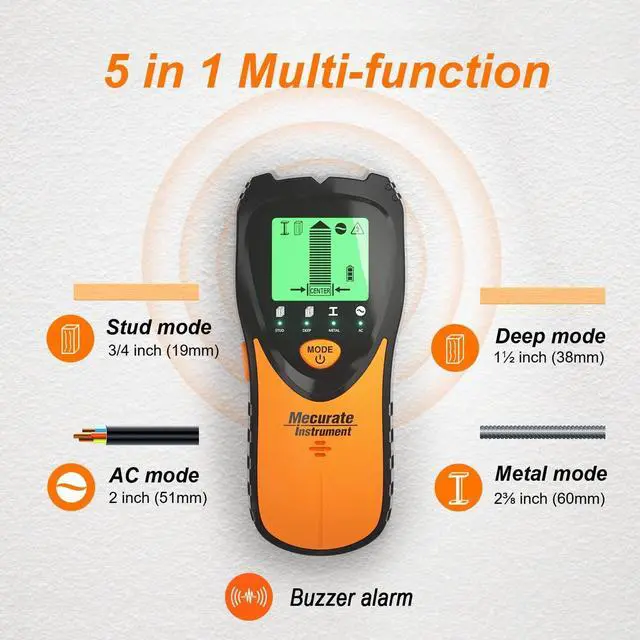
Press Power Button to turn on the tool, press Mode Button to switch to the desired mode
- Start with Stud Mode for 3/4 in. (19mm)
- Deep Stud Mode: 1 1/2 in. (38 mm)
- Metal Mode for locating metal
- AC Mode for locating live AC wiring
2. CALIBRATION
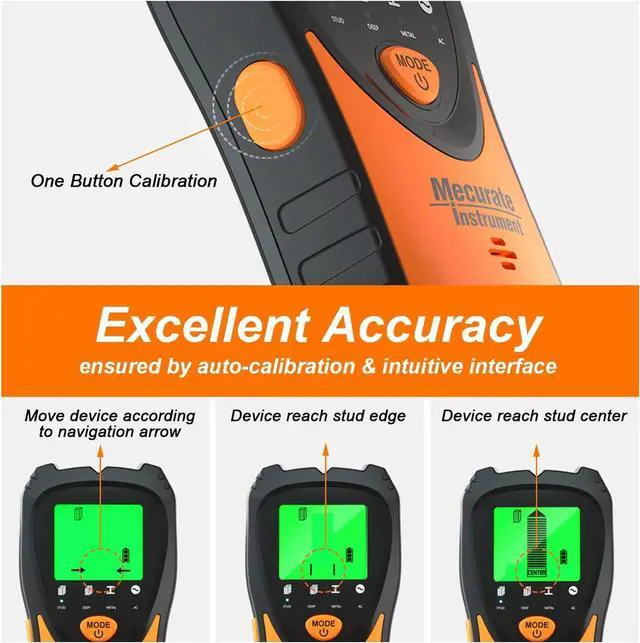
- Press Scan Button on the side to start calibration, the decreasing bars will disappear and buzzer will beep one time, which means calibration is completed.
- When take multiple readings, it is important to wait for calibration to complete (2-3 seconds) every time before moving the scanner.
3. SCANNING
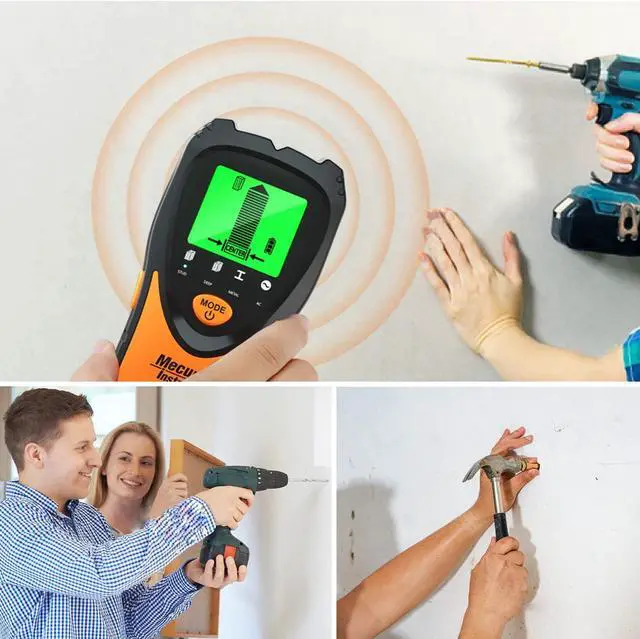
- Place the tool flat against the wall.
- Slowly slide tool across the surface, the pointed arrow indicate the direction need to move to, the EDGE indication shows when reach edge of the stud.
4. READING RESULTS
- Continue sliding tool, when the center of a wood stud or metal stud is located, the full bars on the Signal Strength Indicator, the CENTER indication will show and the buzzer will sound.
- If the stud is deeper than the mode selected, not full bars will show on the screen, set the device in Deep Scan mode, re-calibrate and run another scan.
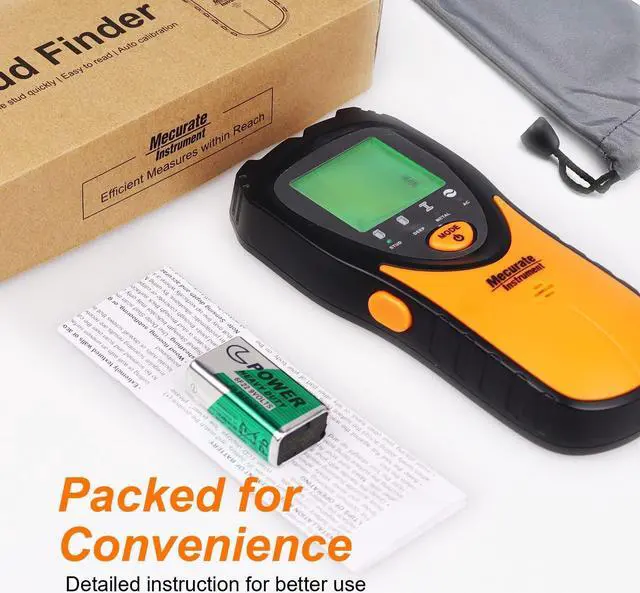
1. Full package
Packed with a 9V battery and a carry pouch, which can easily carry it around and keep device well protected.
2. Ergonomics
Ergonomics handle and buttons design for added control, precision and comfort.
3. Anti-static
Electrostatic will greatly compromise the result. The flannel pads at the back of stud finder help swiping more smoothly and prevent electrostatic interference while moving.
4. Clear visible
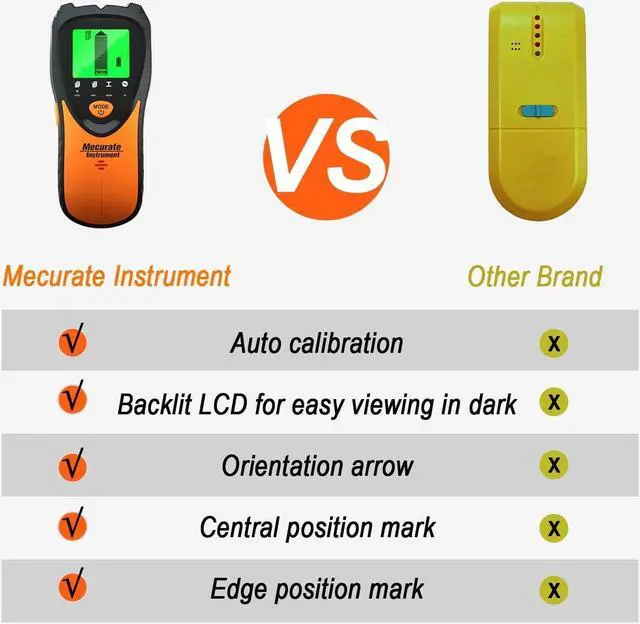
With back-lit LCD display and audible alarm beep, measuring the stud finder in dark or night space is more convenient than ever.
REMINDER
Do not rely solely on the stud finder to locate objects on the scanned surface, but make full use of other sources of information to help locate objects.
The STUD mode on wall scanner is only suitable for dry wall, wooden board and interior walls. New walls might take a week or longer time to dry after being painted.
It is notable that sensing depth and accuracy may vary depending on humidity, material content, wall texture and oil paint. Material are not suitable for scanning: such as, ceramic floor, tile carpet, packed slat, foam-covered insulating board, glass or cement brickwork.
In AC mode, if the wire is more than 51MM away from the scanning surface, in concrete, wrapped in pipe, behind a plywood shear wall or metal wall, in the environment or in the presence of moisture on the scanning surface, the AC wire may not be detected.
Please notice that the human body has its own electrical activity and can act as an electrode. When taking tests with touching dry wall, it is possible for the electrical activity of the body to interfere with the results.
1. SETUP
Press Power Button to turn on the tool, press Mode Button to switch to the desired mode
Start with Stud Mode for 3/4 in. (19mm)
Deep Stud Mode: 1 1/2 in. (38 mm)
Metal Mode for locating metal
AC Mode for locating live AC wiring
2. CALIBRATION
Press Scan Button on the side to start calibration, the decreasing bars will disappear and buzzer will beep one time, which means calibration is completed.
When take multiple readings, it is important to wait for calibration to complete (2-3 seconds) every time before moving the scanner.
3. SCANNING
Place the tool flat against the wall.
Slowly slide tool across the surface, the pointed arrow indicate the direction need to move to, the EDGE indication shows when reach edge of the stud.
4. READING RESULTS
Continue sliding tool, when the center of a wood stud or metal stud is located, the full bars on the Signal Strength Indicator, the CENTER indication will show and the buzzer will sound.
If the stud is deeper than the mode selected, not full bars will show on the screen, set the device in Deep Scan mode, re-calibrate and run another scan.
ADVANTAGES
1. Full package
Packed with a 9V battery and a carry pouch, which can easily carry it around and keep device well protected.
2. Ergonomics
Ergonomics handle and buttons design for added control, precision and comfort.
3. Anti-static
Electrostatic will greatly compromise the result. The flannel pads at the back of stud finder help swiping more smoothly and prevent electrostatic interference while moving.
4. Clear visible
With back-lit LCD display and audible alarm beep, measuring the stud finder in dark or night space is more convenient than ever.