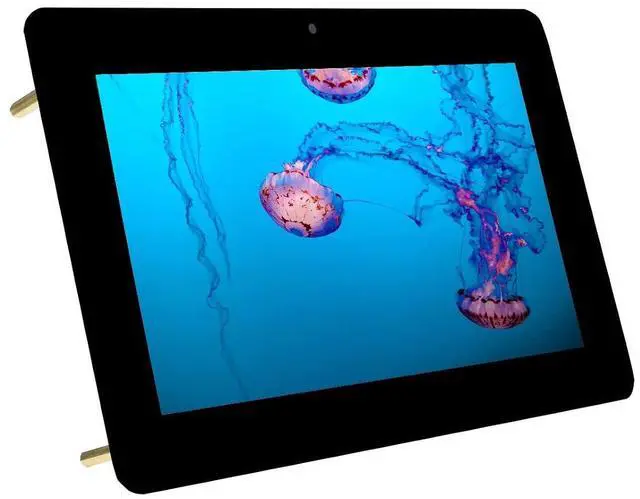
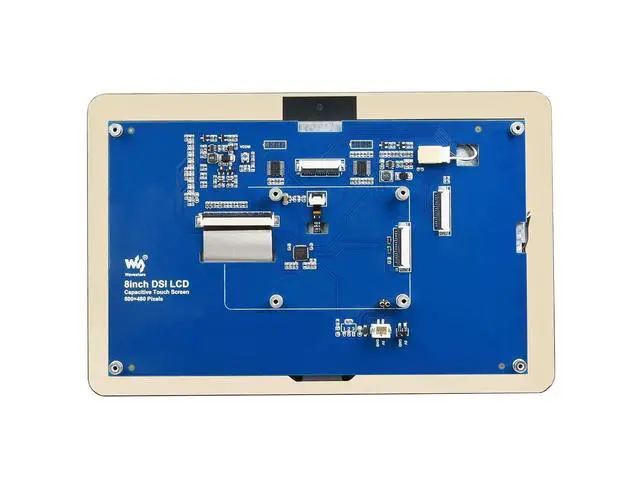
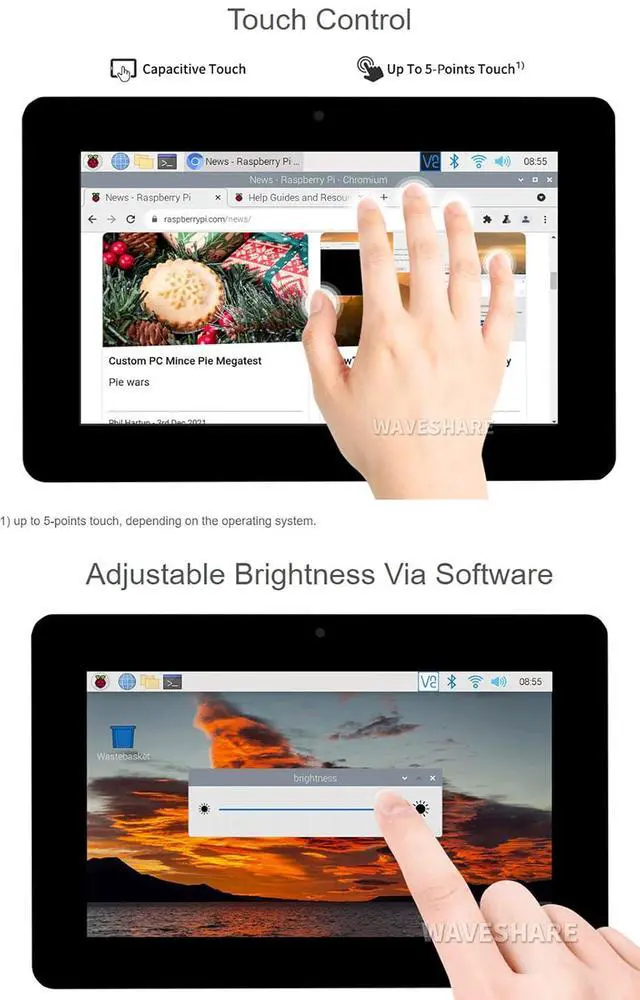
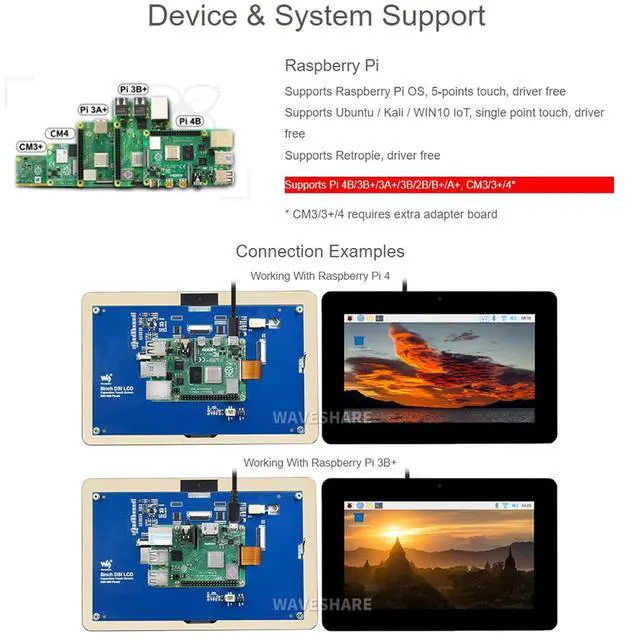
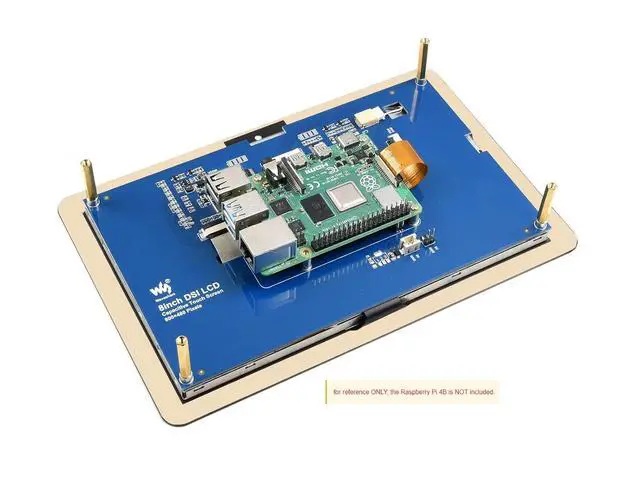
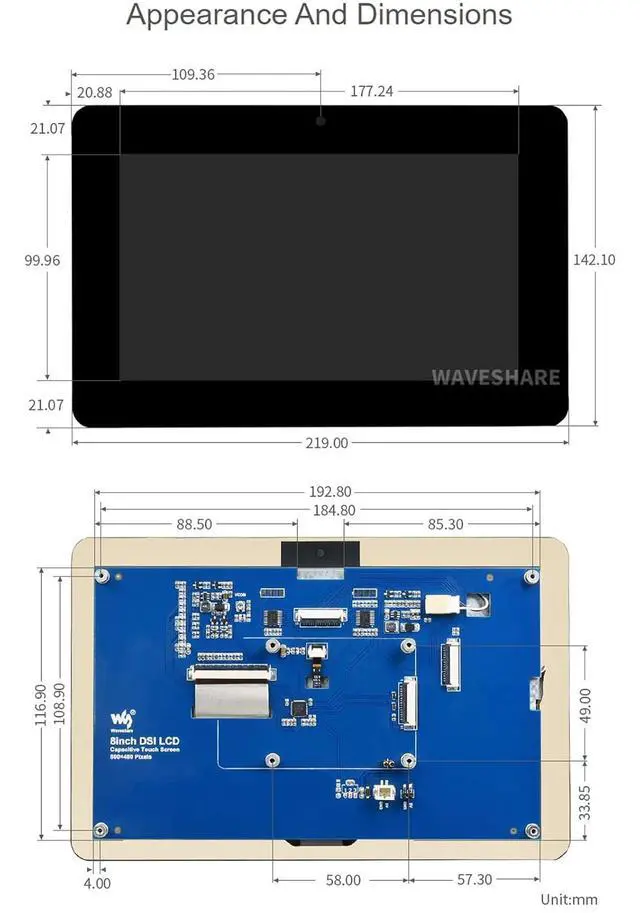
Introduction 8inch Capacitive Touch Display for Raspberry Pi, 800×480, MIPI DSI Interface Working with Raspberry Pi 1. Hardware connection 1)Use the 15PIN FPC cable to connect the DSI interface of the 8inch DSI LCD to the DSI interface of the Raspberry Pi. 2)For ease of use, you can attach the Raspberry Pi to the back of the 8inch DSI LCD fixed with screws, and assemble the copper pillars. (The Raspberry Pi GPIO interface will power the LCD through the thimble) 2. Software settings Support Raspberry Pi OS / Ubuntu / Kali / Retropie and WIN10 IoT systems for Raspberry Pi.
1) Download image (Raspbian, Ubuntu, Kali, or WIN 10 IOT) from the Raspberry Pi website. 2) Download the compressed file to the PC, and unzip it to get the. img file. 3) Connect the TF card to the PC, use SDFormatter. exe software to format the TF card. 4) Open the Win32DiskImager. exe software, select the system image downloaded in step 2, and clickWrite to write the system image. 5) After the image has finished writing, save, and quit the TF card safely.
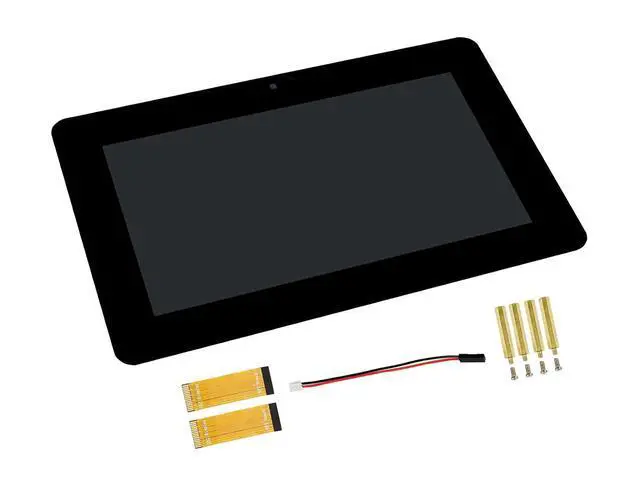
6) Power on the Raspberry Pi and wait for a few seconds until the LCD displays normally. And the touch function can also work after the system starts. Package Content 1. 8inch DSI LCD x1 2. FPC 15PIN 1.0 pitch 50mm (opposite sides) x2 3. 2PIN wire 10cm x1 4. Screws pack x1 Note Development Resources and Technical Support are provided, please feel free to contact us if you have any problem!



 All Categories