Installation Step:
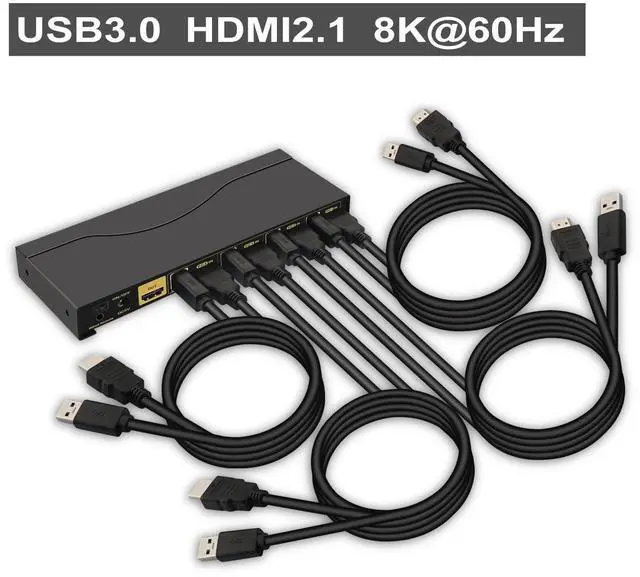
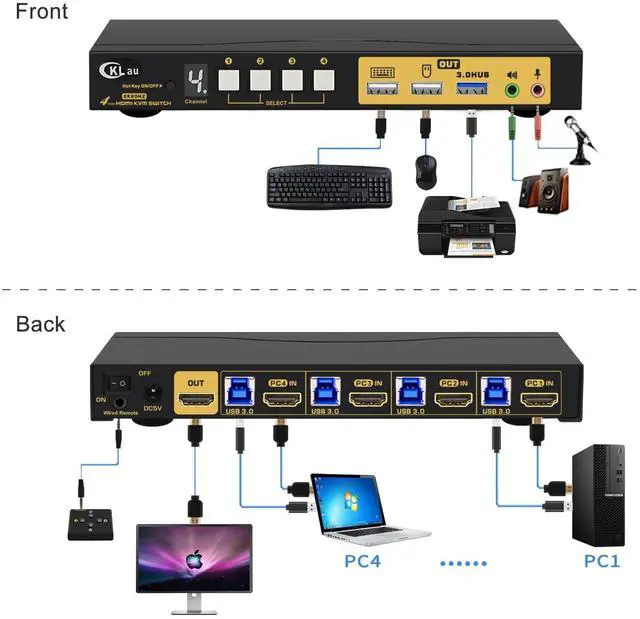
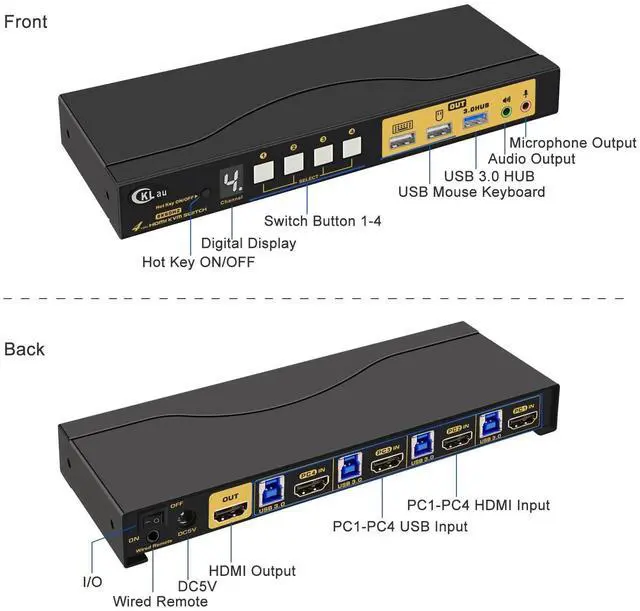
1. Connect the KVM switch and computers by HDMI cables, and USB 3.0 cables that come with the KVM switch;
2. Connect the KVM switch and the monitor by a HDMI cable;
3. Plug the keyboard into the keyboard slot, plug the mouse into the mouse slot of the KVM switch;
4. Plug headset/speaker/wired remote push-button switch/other USB device/power supply into the KVM switch if needed.
Package:
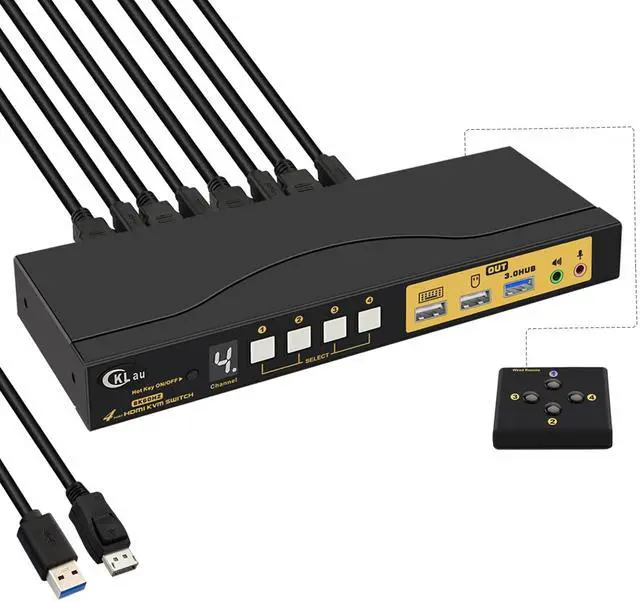
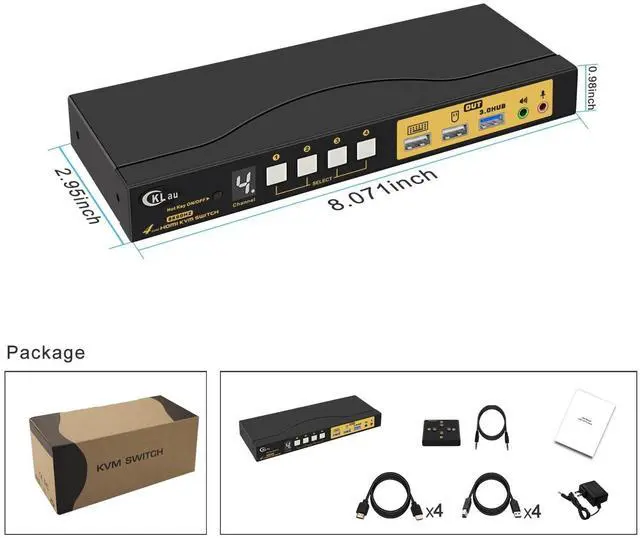
1 x 4 port HDMI KVM switch
4 x HDMI cables
4 x USB 3.0 cables
1 x DC 5V 2A Power adapter
1 x manual
1 x wire remote push button switch
Tips:
1. The KVM switch comes with a DC power adapter, we suggest you plug it into the KVM switch and AC socket, to avoid damaging your devices cause the power supply is not stable.
2. If you want to get 8K60Hz or 4K144Hz resolution, your devices(include computers, docking station, adapter) all should support that resolution. The KVM switch is like a bridge for transferring computers' signals to monitors, it can't change your devices' resolution. For example, all of your computers and the monitor all support 4K144Hz, but one of your computers needs to use an adapter, and this adapter only supports 4K60Hz, then this computer only supports 4K60Hz but not 4K144Hz.
With a USB 3.0 Hub.
With audio, microphone output.
With digital display
We have been certified HDMI adopters for over 10 years.
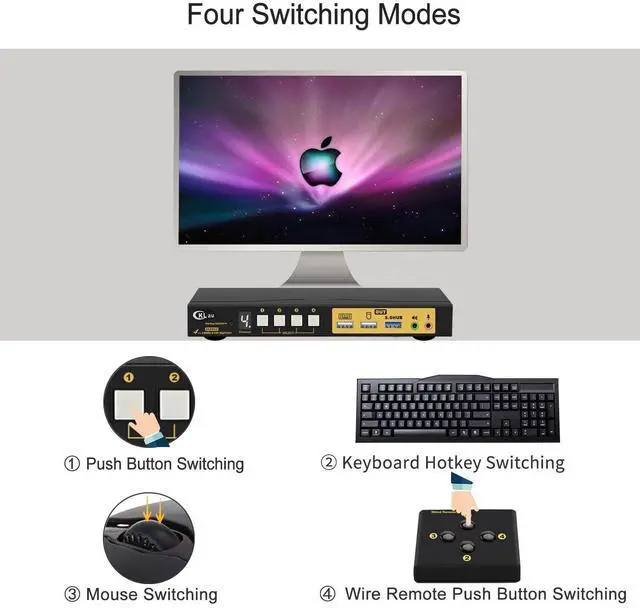
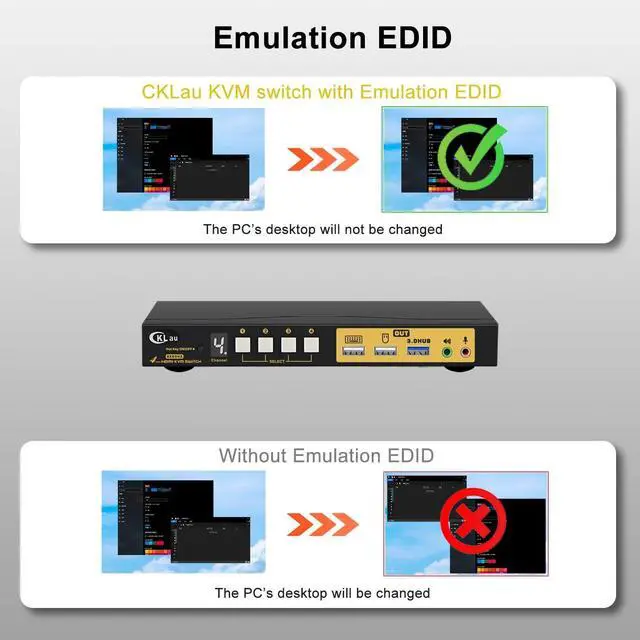
Keyboard Hotkey Switching Num Lock + Num Lock + 1 / 2 / 3 / 4 + Enter, or Ctrl + Ctrl + 1 / 2 / 3 / 4 + Enter, or Scroll Lock+ Scroll Lock+ 1 / 2 / 3 / 4 + Enter Mouse Switching Click the mouse wheel 2 times + left button / right button, and then it will switch to another computer. Manual Button Switching You can press the button one time, then it will switch to that computer. Wire Remote Switching You can press the button of the wired remote one time, it will switch to that computer. 4 Port 8K KVM Switch with Emulation EDID Support Emulation EDID More Advantage 4 Switching Way Optional