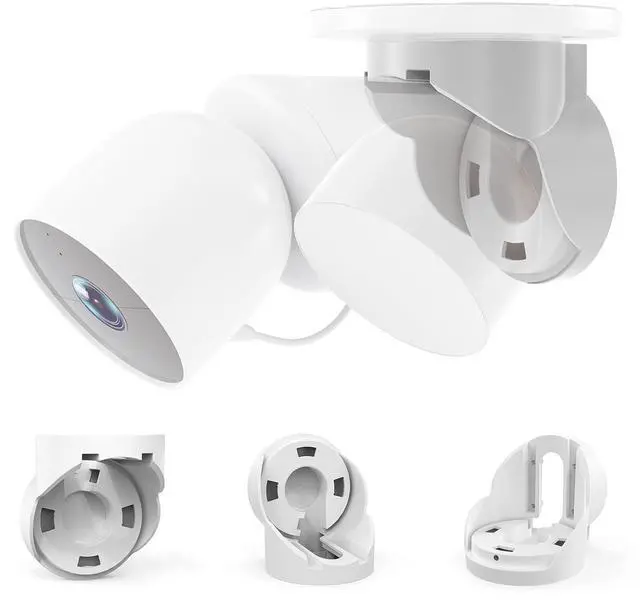
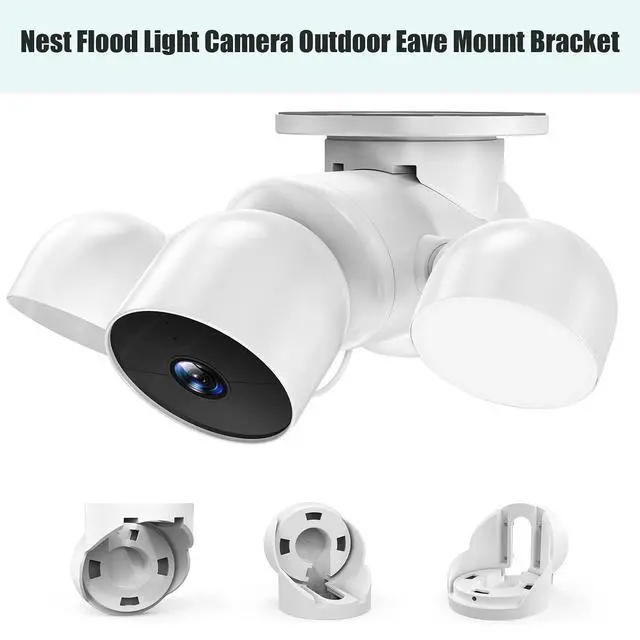
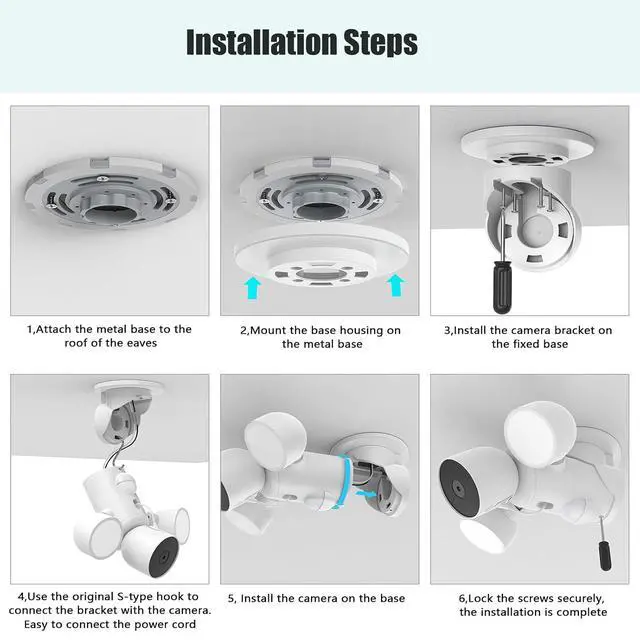
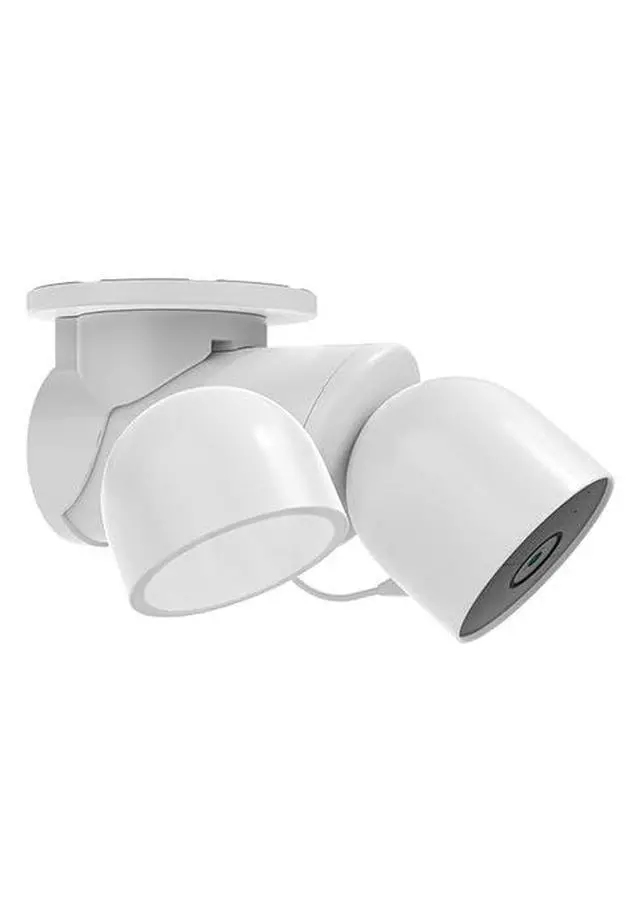
Product description SURVADV Nest Flood Light Camera Outdoor Eave Mount Bracket Click to play video Effortless Installation Step 1 Attach the
Base: Secure the base of the mount to the desired ceiling location using the provided screws. Step 2
Position the Cover: Align the cover with the base and twist to lock it in place, ensuring a secure fit. Step 3 Install the
Bracket: Fix the bracket onto the base by tightening the screws with a screwdriver. Step 4 Attach the
Camera: Connect the camera to the bracket, ensuring all wires are securely attached. Step 5 Lock the
Camera: Secure the camera into the bracket by fastening the side screw, providing a stable installation. Step 6 Adjust the
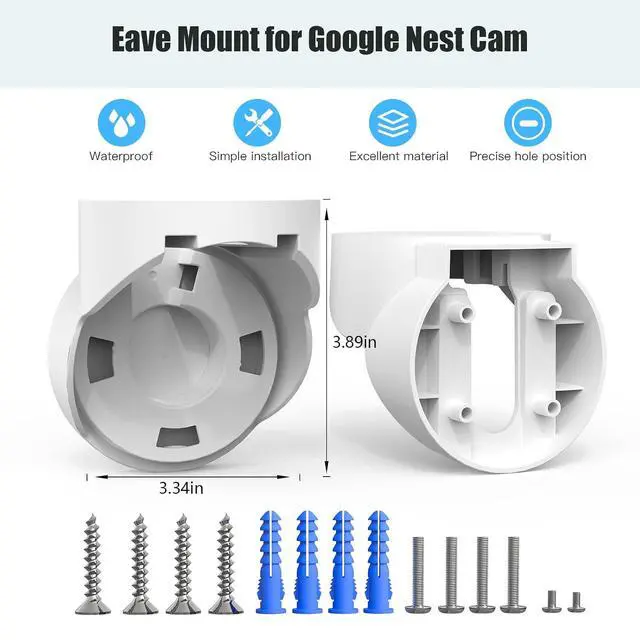
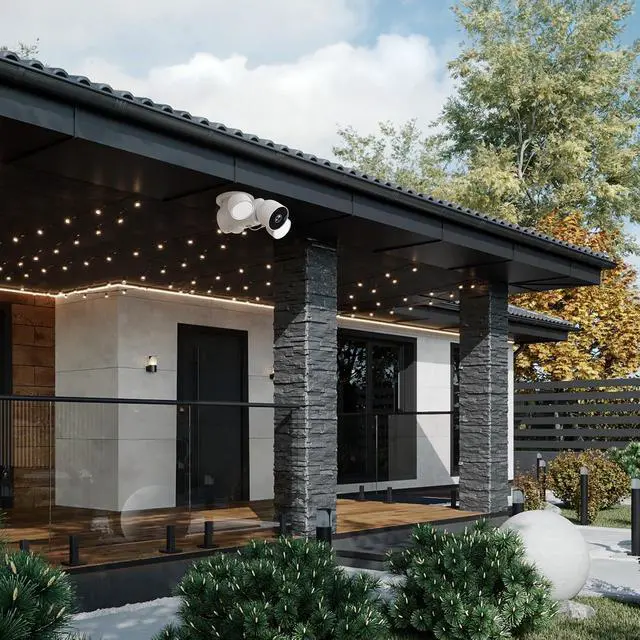
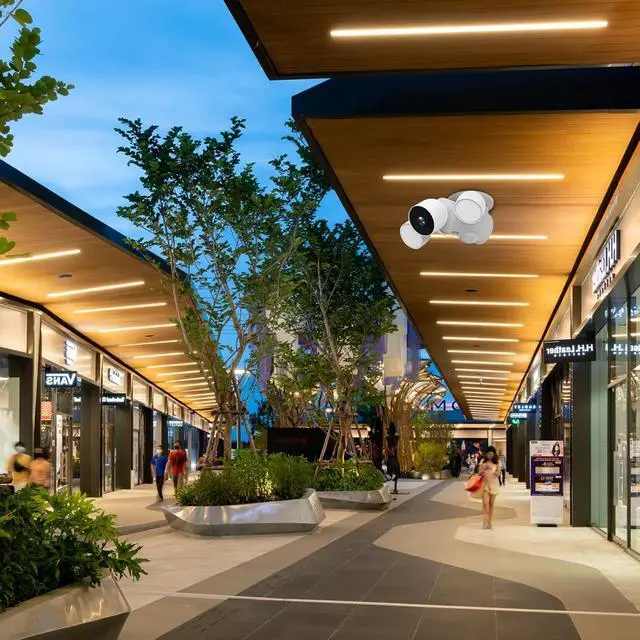
Angle: Make final adjustments to the camera angle for optimal coverage, ensuring the device is tightly secured and operational. Our Nest Flood Light Camera Outdoor Eave Mount Bracket ensures a seamless setup for your Google Nest Cam with Floodlight, offering quick and easy installation for hassle-free security. Unlike other mounts that only allow wall installation, our Nest Flood Light Camera Outdoor Eave Mount Bracket can be installed both on the wall and under the eave. This flexibility offers enhanced security and better positioning for optimal surveillance coverage. Durable and Reliable Crafted from high-quality ABS material, our eave mount provides exceptional durability and rust-free performance. The mount measures 3.34 inches ( 8.48 cm) in width and 3.89 inches ( 9.88 cm) in height, ensuring r



 All Categories